Instagram

Showing posts with label DIY. Show all posts

Wednesday, 26 October 2016

How to fix Art of War Studios tokens


So you may or may not have ordered product from Art of War Studios, a UK-based store that makes and sells gaming aids, like token's and measuring sticks.

Before I ordered anything from them, I've seen lots of complaints about the quality of the products they received from this company. People who are happy with the quality insisted that the customer service at this place was great, and the company could be contacted, to receive better crafted product.

The main complaint I've consistently read about was that the words were un-readable, and it's not what people were expecting compared to the sample pictures on their website. I decided to order some myself, and even if it was a bad batch, I knew I could probably salvage it. Besides, the company has very cheap products compared to the competition on the market.

We ordered a few products: Union Influence tokens, Alchemist tokens, Mortician's tokens, and measuring stick sets for a variety of factions. We received the product, and we definitely had product that was not as good-looking as those pictured on the website (See first picture). Not only were the token's symbol's really dull, but more than half the tokens looked like they were scuffed. However, I will show you how to easily fix these tokens.

Now, before you ask me, "why don't you contact Art of War? Their customer service is really good, and they'll send you a new batch!" like I suggested before... it seems that they have given up on making and sending out clear, legible tokens, as our order came with a slip of paper that basically said "here are a few ways you can bring out the detail in your tokens."

Well, here's a simple guide on what to do to make your tokens look sweet and vibrant!

1- Paint the surface with paint. I chose white because I think it 'pops' the best.

2- Use your thumb to wipe the paint off the surface of the token. The idea here is, your thumb will easily remove the paint from the smooth surface, but leave the paint in the recesses of the token.

3- Use your fingernail to scrap off the scrapes from the token. They aren't really scrapes. It's just excess material that hardened on the token when the company was trying to color the detail on their tokens. Your finger nails are tough enough to remove this material, but soft enough that they wont scratch your tokens.

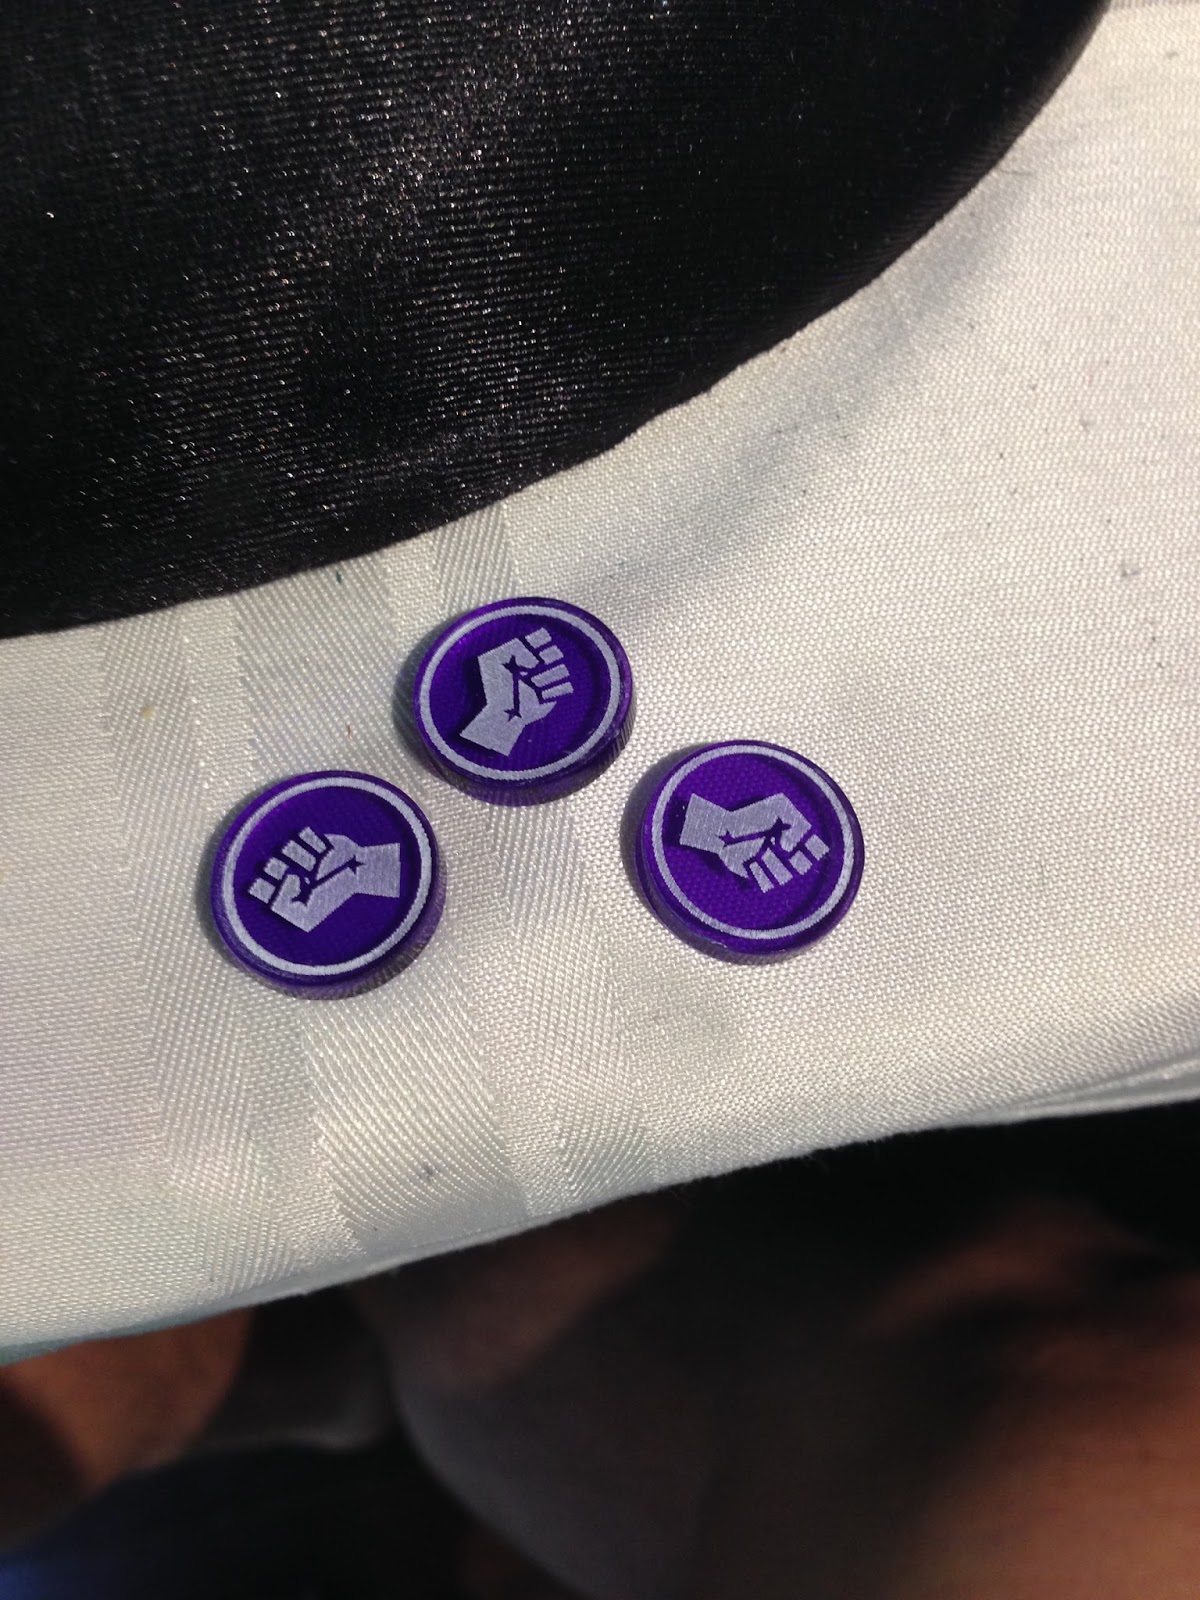


As you can see from the photo, here are the before and after tokens, side-by-side.

This whole process takes very little time, and as a miniature gamer, you probably already have paint lying around at home.

You don't even have to use your good paint. I just used dollar store paint.

Hope this guide helps!

-the aY

Saturday, 10 September 2016

DIY Goal Post for Guild Ball - Pile of Gold

In Guild Ball, a lot of the personality of your team comes from having a custom Goal Post to represent the character of your team.

If you go to the main Guild Ball Forums, you can see all sorts of custom things people have done under "the Display Cabinet" sub forums. From there, you can get all sorts of inspiration.

Recently, I was inspired by my friend's Union Goal Post. Very appropriately, it was a large mound of coins. He told me the overall gist of how he did it, but I decided to revise the design a bit.

If you are interested in making something similar, here is the simple guide:

1- Use some kind of clay (or play-dough!) to make the base of the mound as pictured.

2- Stick random bits to add some character to it. I happened to have a sword and banner lying around.

3-After the clay hardens, reinforce it with glue (I used hot glue), prime it, and give the whole thing a base coat of paint.

4- Once it's all done, put on a watered-down layer of glue and use Gold Glitter. Fortunately, my glitter I bought at the dollar store is actually round, so if you look very closely, they actually look like coins.

5- Once dry, seal it in with another layer of watered-down glue, and there you have it!

I like this particular goal, because not only is it appropriate for the Union Guild, but because I put my moniker ("the aY", duh!), it is applicable to all my teams. Yes, I am very vain, it seems.

Hope you enjoyed this blog entry! :)

-the aY

Monday, 5 September 2016

Try converting a model! Guild Ball - Fillet: "a REAL Blood Dance"

Well, I know models and how "cool" they look can be a highly subjective thing. When it comes to Guild Ball models, I think they are overall very good, but sometimes they are missing a little something extra.

In the past, when I bought models, I assembled them as quick as I could, primed them, and painted them immediately. I didn't bother cleaning models, filling in gaps, or anything else like that. I didn't care at all about the hobby aspect. I just wanted them on the table so I could use them to play the game.

Overall, I am still like that. But I certainly clean the flash and mold lines off of all my models now. Filling in gaps is still something I don't care enough to do, but thankfully, the models today seem to be of higher casting quality than they used to be of yesteryear, so it's not something I ever feel I have to do. There just aren't as many gaps as there used to be.
 Back to Guild Ball. I feel like a lot of them are missing "something." Either they are too static, or they are just missing some kind of flair. I'm not a conversionist. I have done the occasional mod here and there, but I just don't have the time or care to do some of the crazy things I've seen people do with their models.


 However, it's Labour Day, and I am in a very, very rare situation in my life: I'm relatively unbusy today! Mind you, I still put up a floating shelf, did my grocery shopping, went on a walk with my family, and am hosting a BBQ for the in-laws. But I thought, "I have an hour or so... let's Make Fillet REALLY Blood Dance!"

So, my first conversion of any real substance that didn't involve just a head swap. Check it out! Sure, maybe it's very un-realistic. It's very anime-esque. But I just wanted my Fillet to have swirls of blood circling around her as she dances through and slices down her opponents. I think this accomplishes that look. :)

Hope you guys like it, and I hope it inspires other non-hobbyists to try something new with their models.
Have an amazing day!

-the aY

Wednesday, 31 August 2016

DIY: How to make a GUILD BALL mat - A step-by-step guide


This article is going to show you, step-by-step, how to make a sweet, textured, rollable mat for your favourite mob soccer game: Guild Ball!

The materials you will need: 
-3x3 cloth surface. Felt, or any cheap but durable cloth will do.
-At least 2 tubes of Acrylic caulking (and a caulking gun will be helpful)
-A flat tool to spread acrylic. I used an ice scraper.
-A sponge
-Paint
-Painters tape
-White spray paint, and whatever paints you want your surface colour to be
-A print-out of the Guild Ball logo
-Precision knife


Step 1- The first step is to spread the caulking all around the mat. You can apply liberally. As stated before, it will probably take at least 2 tubes.


Step 2- Use the flat surface tool to spread the globs of caulking around, evenly on the mat. You ideally want the whole mat to look white.


Step 3- Once the whole surface is covered, take the sponge and just dab the surface all over. The point of this is to get texture on the mat. It will look like grass or rough ground.
Step 4- Paint the mat in your desired colour. The most obvious colour would be green, but really, whatever terrain you like, that is what you can paint. Important note: try to use THREE (3) colours.                                                         

So, for this green pitch, get a Dark Green, a lighter green, and yellow. Paint the whole surface with the darkest colour first. Once it dries, lightly brush (think drybrushing) the lighter green over most of the mat. Once that dries, use the yellow and sparingly drybrush parts of the mat. This will make the whole mat look better.


Step 5- Now, to truly turn this mat into a GUILD BALL pitch, you need to add the details!
Take the print-out of the Guild Ball logo, and start cutting out the black parts. This will essentially become a stencil for you to use as the main focal point of the mat.


Step 6- Next, you are going to use the painters tape and block off parts of the mat to make it easy to spray paint on the white lines of the pitch.

This is probably the most work-intensive part of the whole project, but it's not hard.

You need several specific measurements:

-Tape at the 10-inch mark to mark the deployment zone. You will then put a second piece of tape just below that tape, leaving a gap to be as thick as you want the line to be.


-Tape the stencil on the center of the mat, and tape off the half-way line (18 inches). Helpful tip: the stencil may flop around later when we spray paint it, so you may want to roll up tiny pieces of tape and tape down the stencil. Don't worry too much about taping EVERYTHING. No matter what you do, it wont be perfect. We just want it to not be too messy.

 -Tape on the 6-inch mark to represent the goal line. This part isn't really important, but it will help complete the look of the field.

Once again, a second piece of tape just below that one with a gap in between as wide as you want the line to appear on the pitch.

To add even more flair, you can put smaller pieces of tape every inch or so to make it a dotted line!


 Step 7- Time to spray the exposed areas between the tape, and spray the stencil.
Step 8- You may notice the lines have bled out a bit. It's natural. So, we are going to manually touch up the over-spray and blurred lines.


Step 9- Another optional part, but it still completes the look of the pitch. Get a large circle to mark as the actual Goal circle.
We are now done the Guild Ball pitch!

The total material cost of this sweet mat (Canadian):
-Felt: $3-7.
-2 tubes of caulking: $5.00
-3 paints from the dollar store: $3.75

The other stuff, I had laying around. As miniature gamers, you probably also have white primer at home, and most people have painters tape at home. That stuff is inexpensive too.

TOTAL COST TO MAKE MAT: $11.75!


I hope you enjoyed this post, and found the guide useful. I have already made 4 different mats this way, and they are all a little different and unique. If you want to go for a more "used" look on the pitch, you can intentionally leave gaps in the caulking and then glue sand into the patches.

Happy Guild Balling on your sweet new pitch!

And thank you Steam Forged Games for making a game that I love to share!

-aY